Learn to build your own stylish, functional, durable, and surprisingly light-weight camper.
With these thorough step-by-step instructions, you can build your own for a fraction of the cost of a commercial camper. You only need $4500 for materials and some weekends in the garage before you take your own handmade camper on the road.
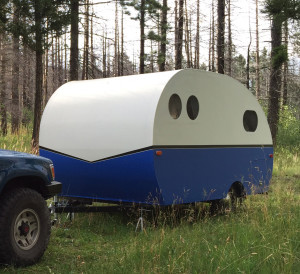
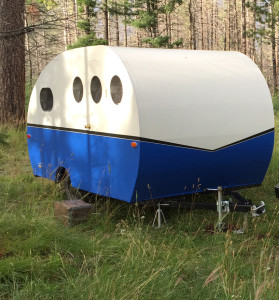
Tour the Camper
At 1200 lbs, it is lighter than almost every pop-up camper on the market. Most 4-cylinder vehicles could pull it. At 75 square feet, it feels very roomy. The cabin interior is 12 feet long and 6 feet high and 6’3″ wide. The exterior height is 7’5″ inches.
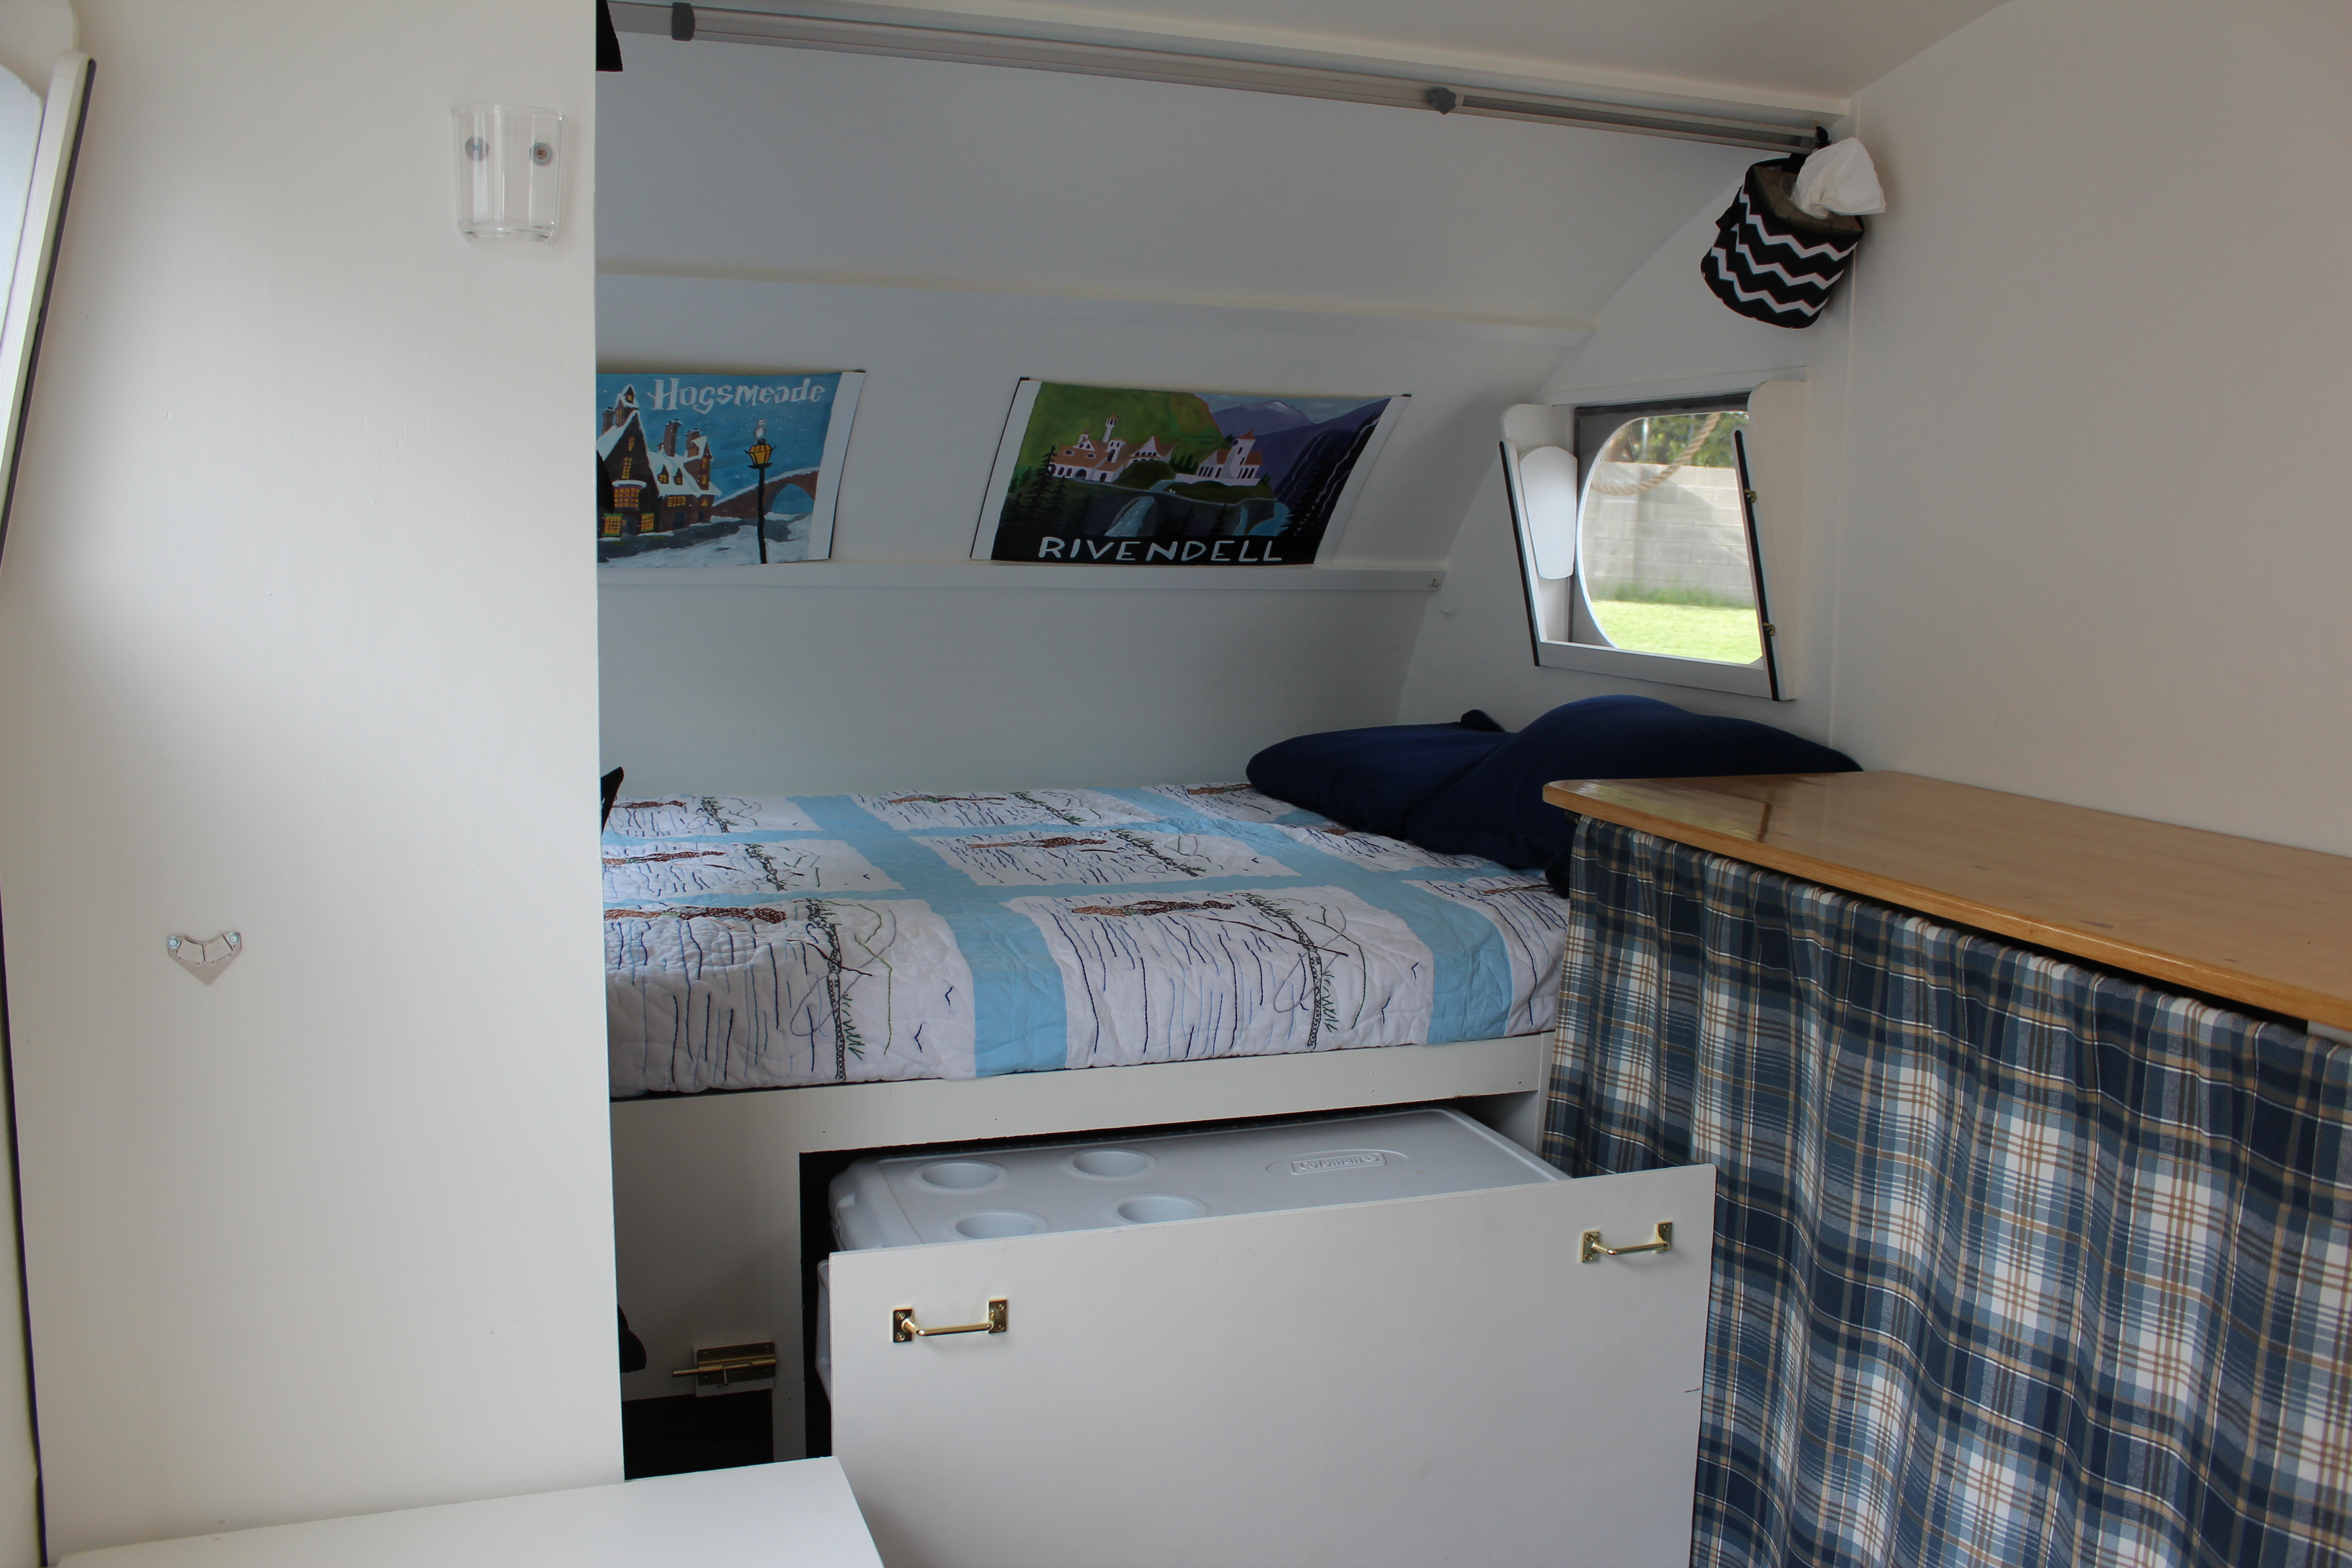
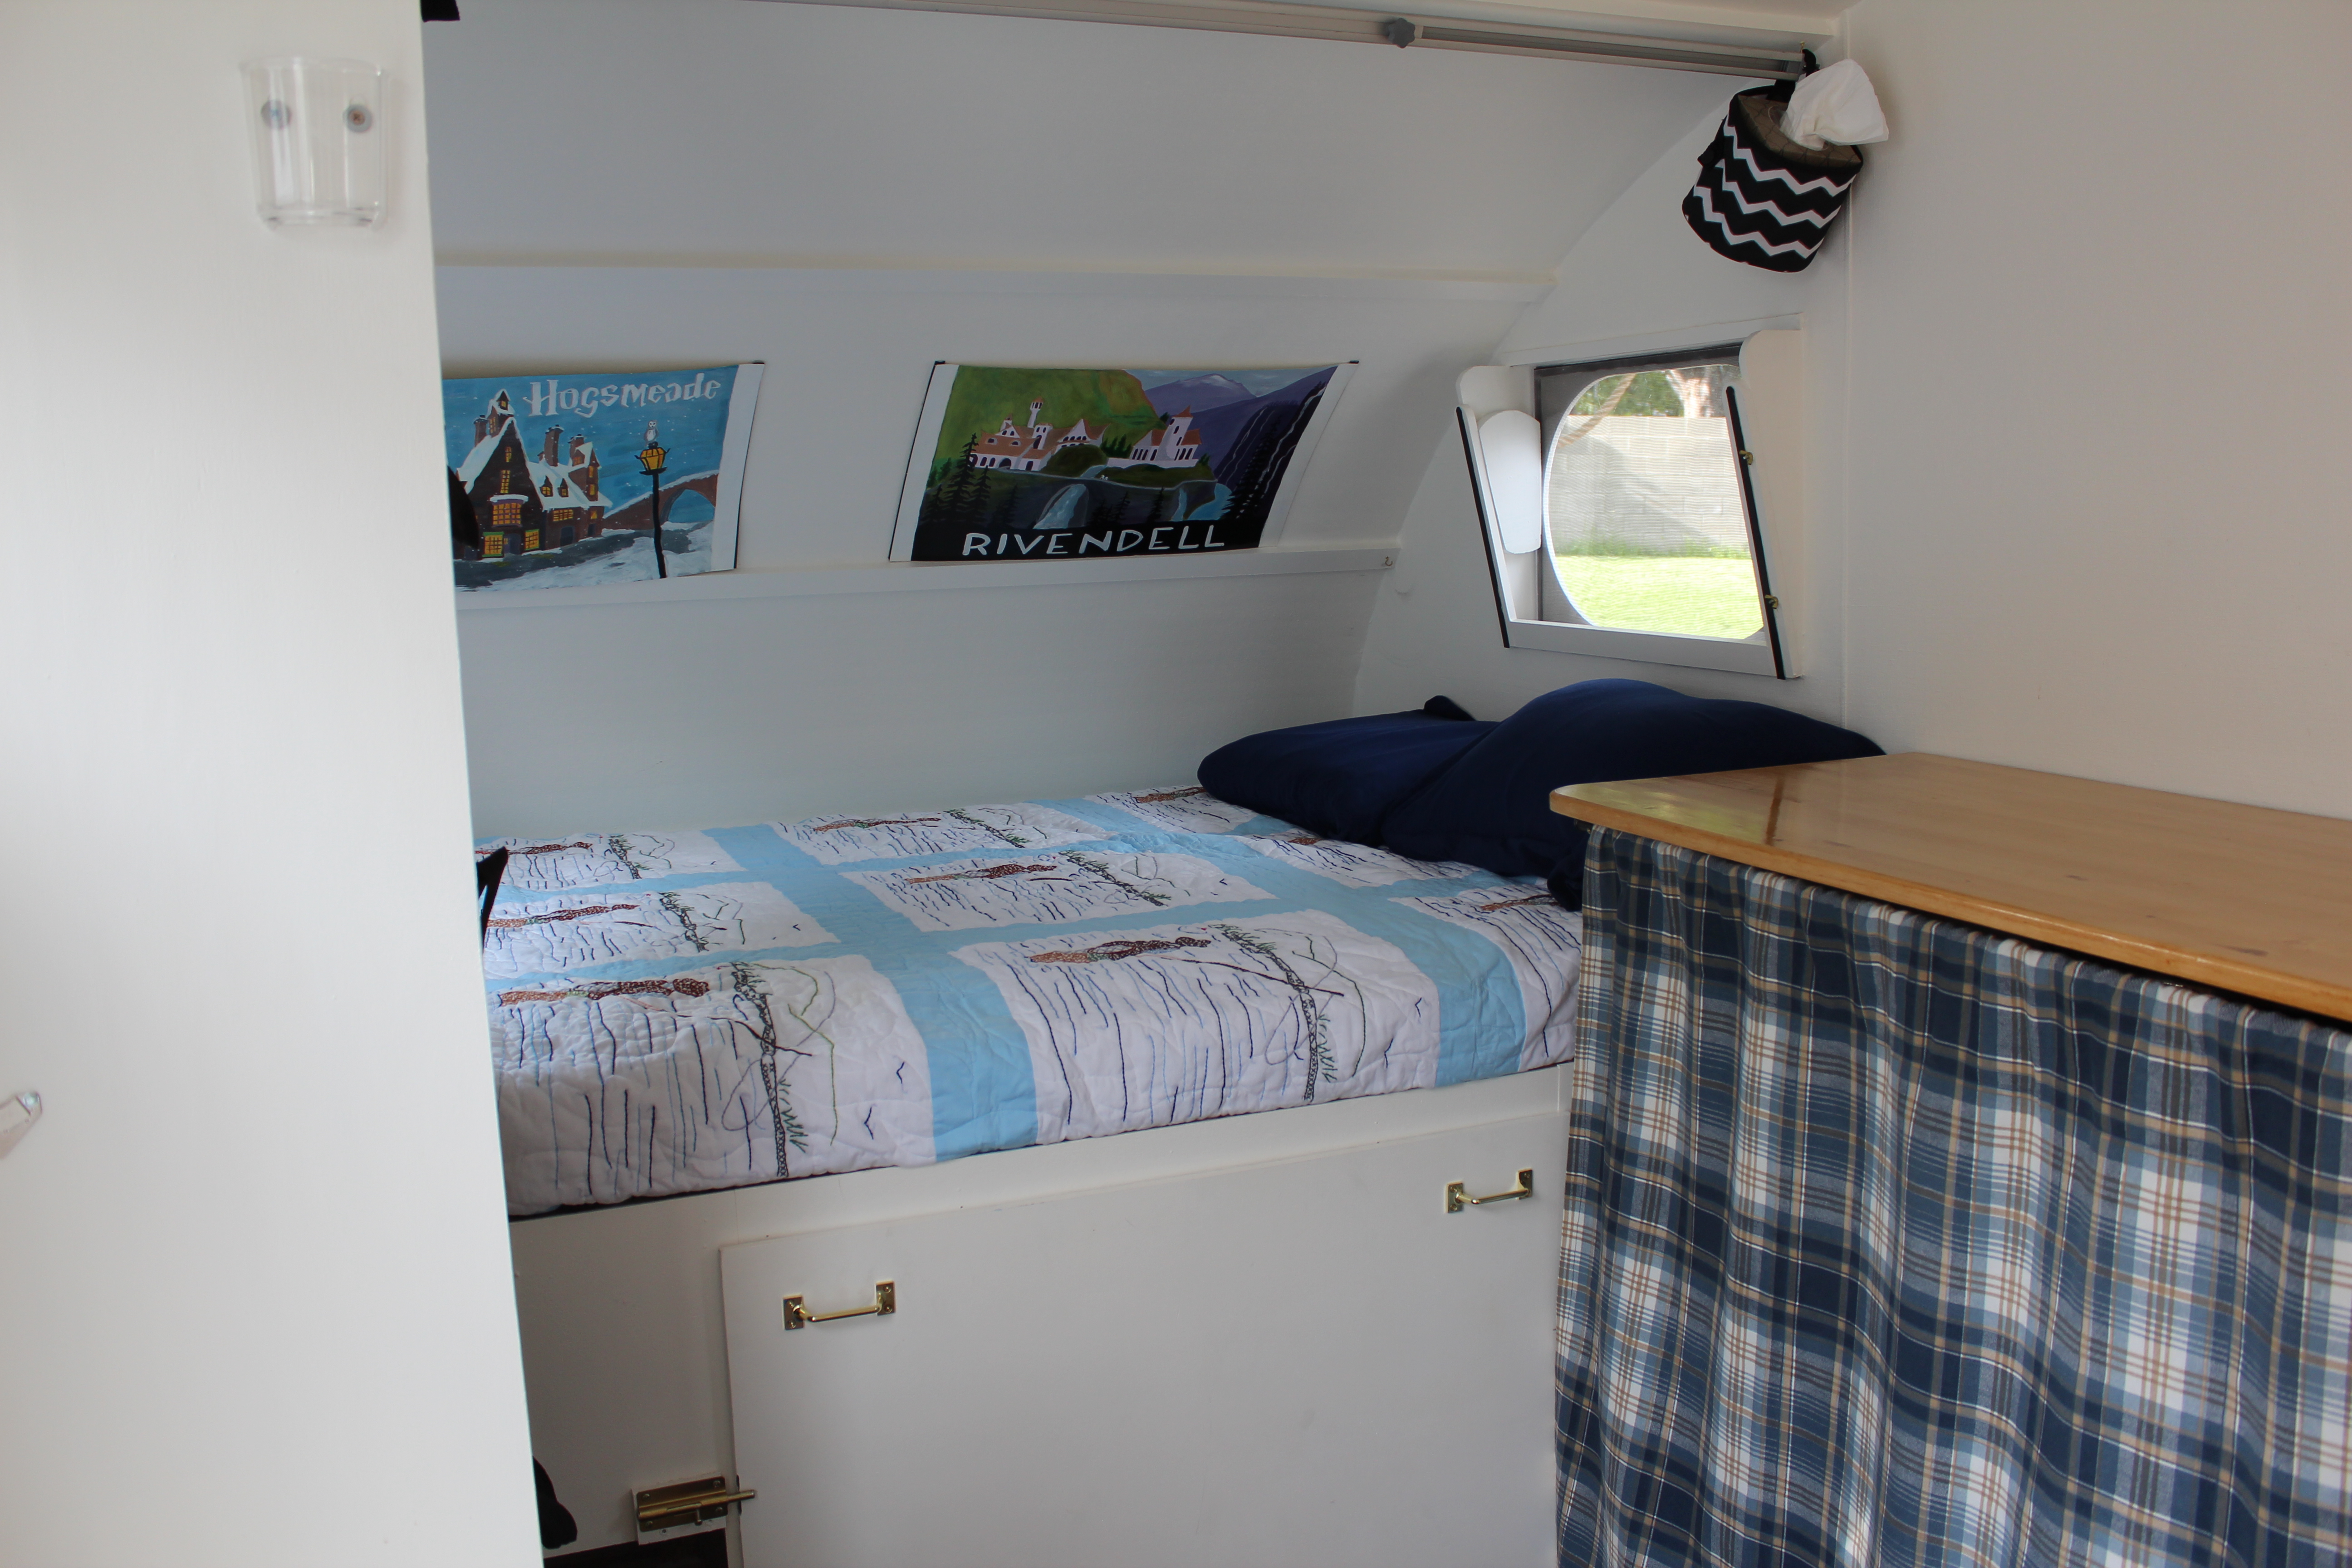
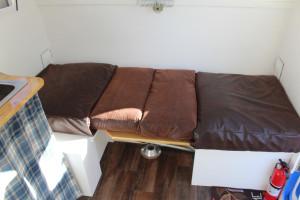
It has a full size bed in the rear of the trailer. A 70 quart 5 day cooler that slides under the bed. A cooler is used instead of refrigerator because it is simple and it always works. Plus you can take it with you down to the lake or wherever you need it. By the time you are out of ice, you need to resupply food anyway.
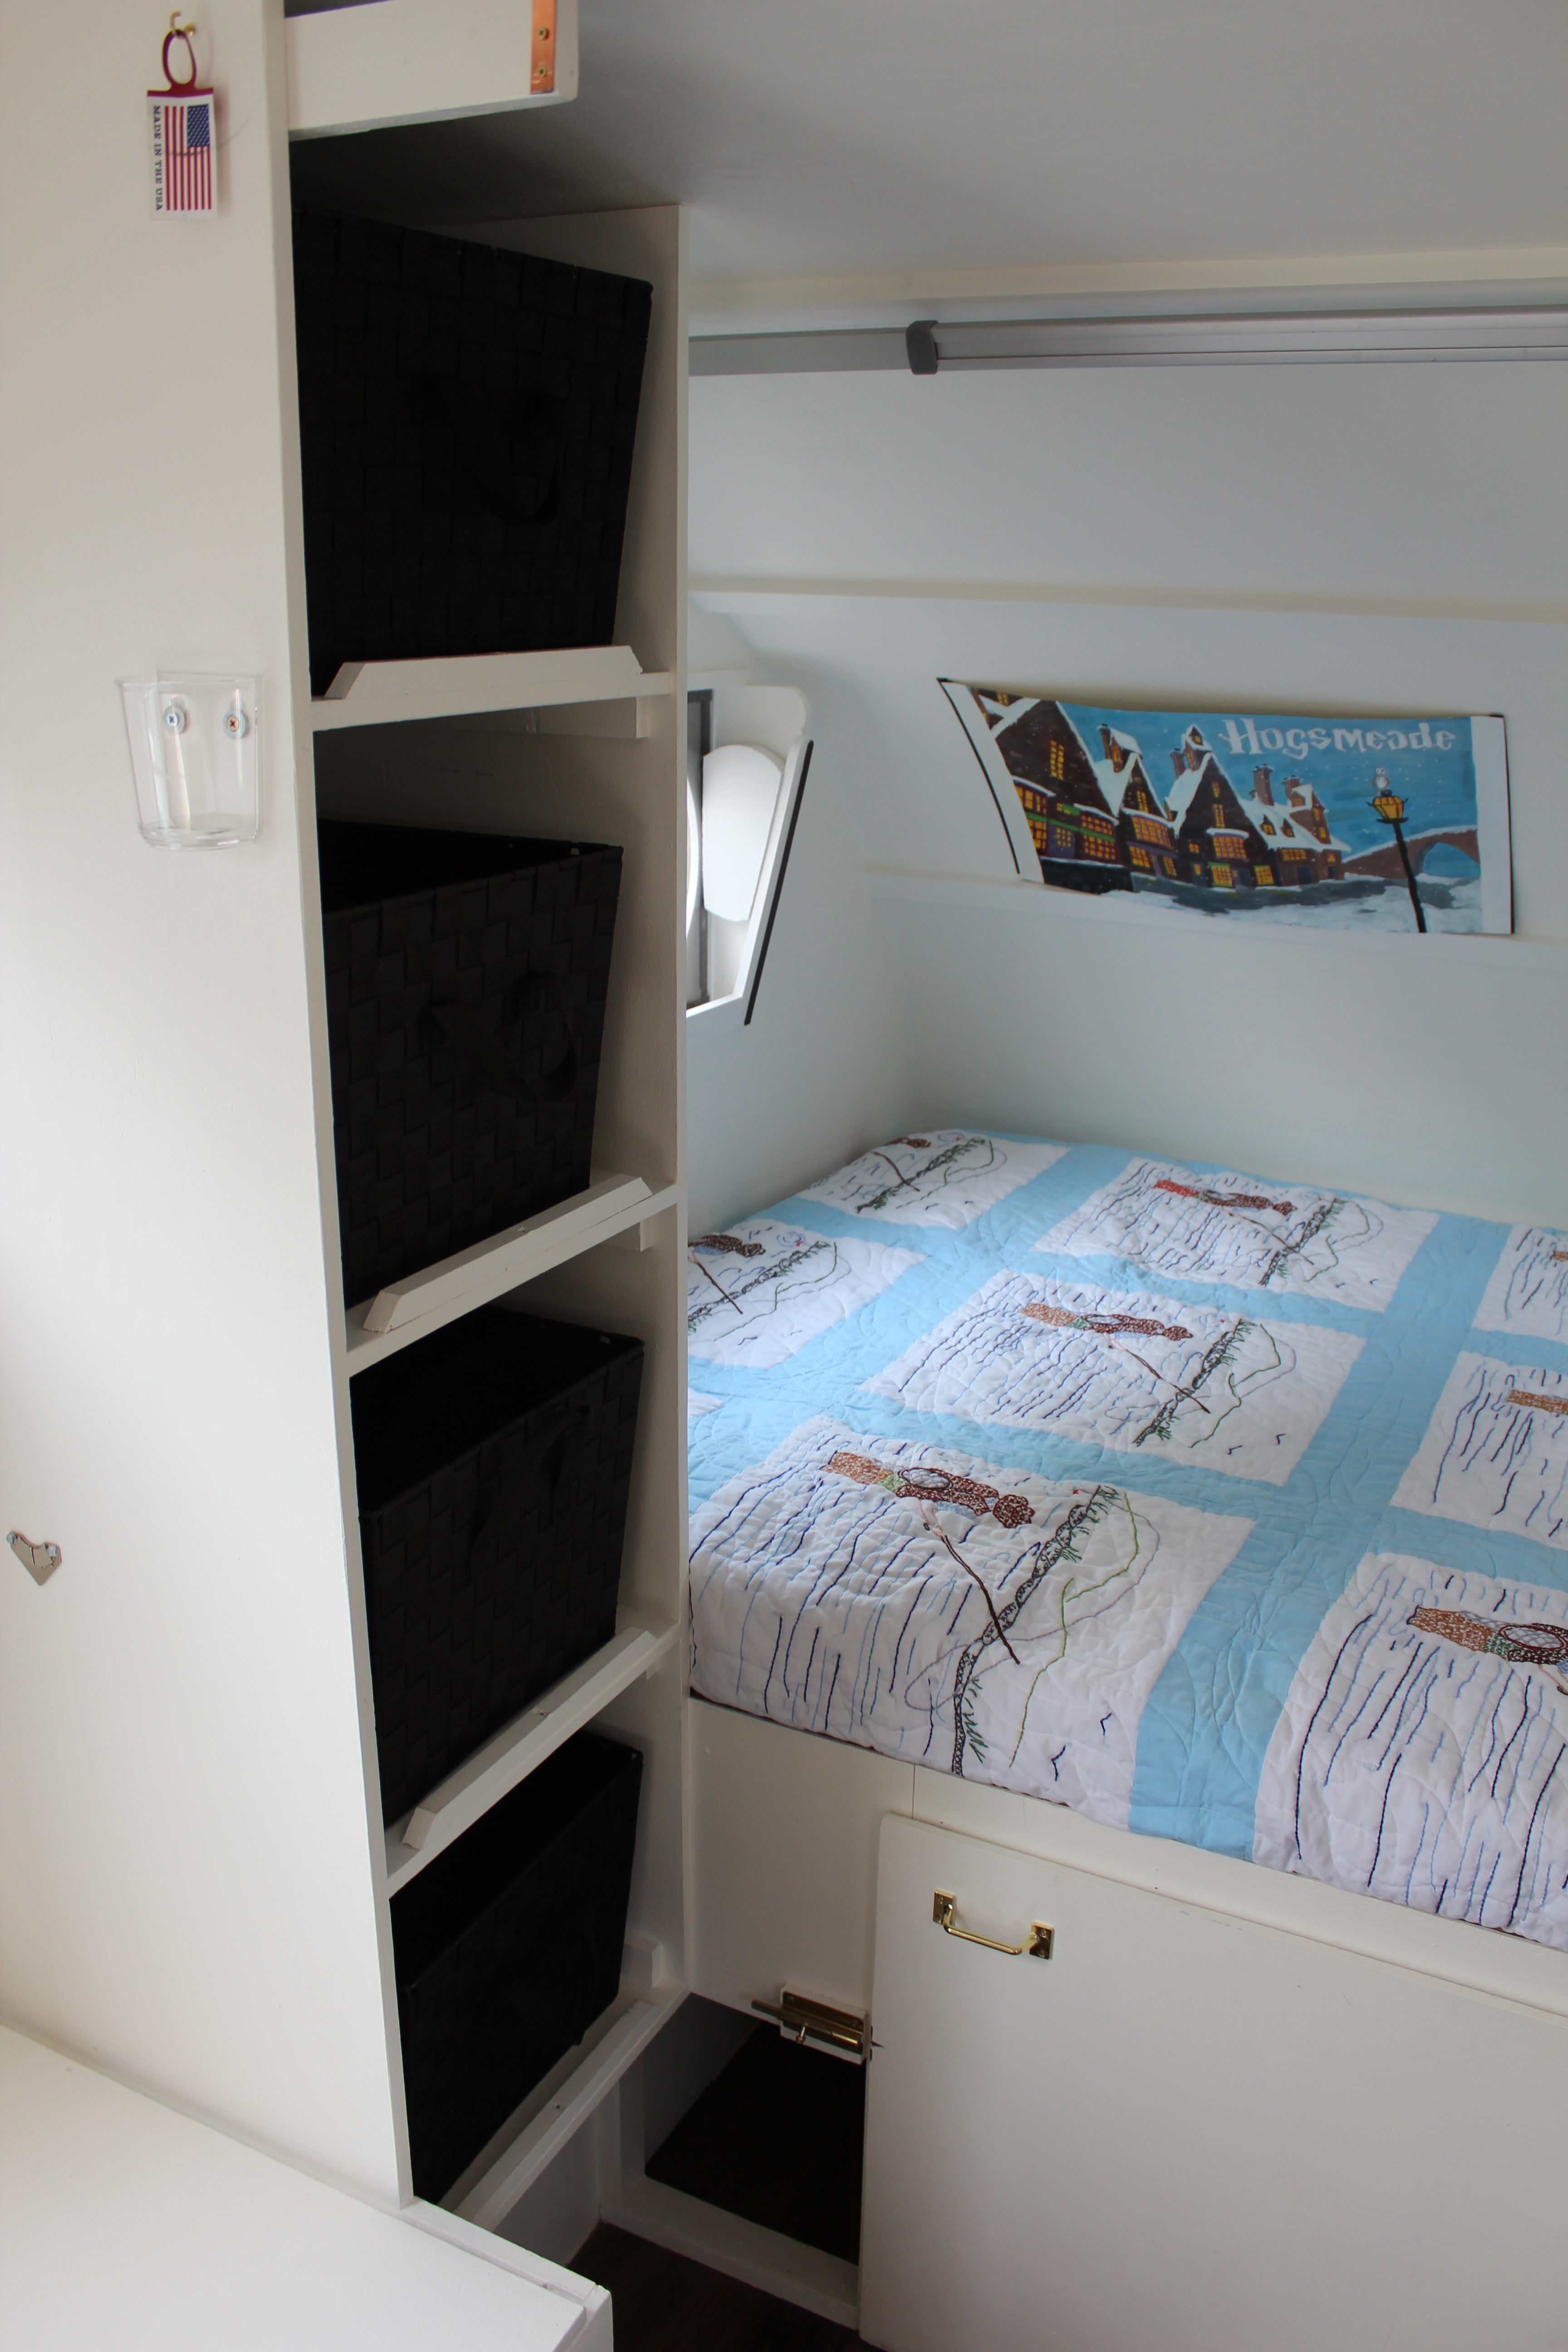
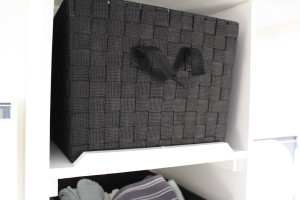
It has four large shelves for storage. Baskets make it easy to organize and transfer food.
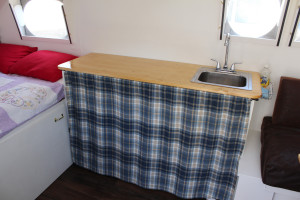
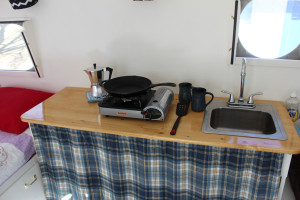
It has a large counter. That’s very rare in campers. Counter space is absolutely essential for making a small space usable. A portable stove can be used inside or outside if you want to cook something that is messy. The sink uses a foot pump and the water drains to either a grey water jug or to a spigot outside the trailer with the twist of a valve. It is so simple there is almost nothing to break. The entire plumbing system could be replaced in minutes.
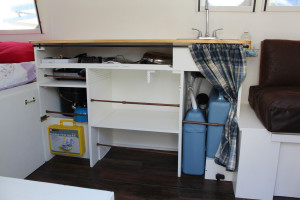
Two carry on bags fit under the counter, as well as, storage space for pots, pans and utensils. There is also a rack to hold the window panes should you decide you want maximum ventilation.
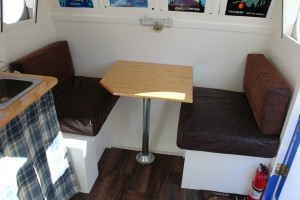
The 2 person dinette converts to another bed and there is storage under the seats. A propane space heater is shown under this seat.
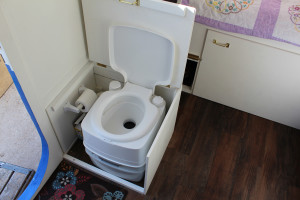
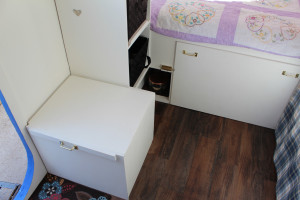
The emergency toilet has a privacy curtain and its compartment functions as an additional seat.


The trailer has seven windows that fully open to provide light and ventilation. Their unique design was used on sail boats. A wedge holds the window pane against the opening when closed. When the wedge is removed, the pane tilts back providing ventilation at the top of the window. Any blowing rain is diverted down the pane into a tray at the bottom where it is channeled back outside. If you require even more ventilation, the pane can be completely removed and placed in a rack under the counter.
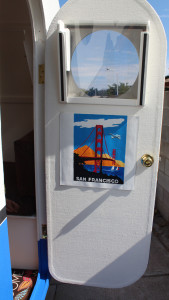
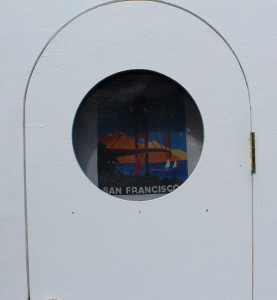
The windows use magnetic privacy coverings that function as wall art when not in use.
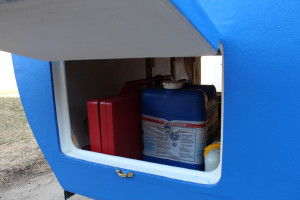
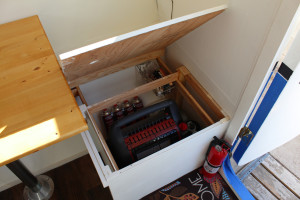
It has a large storage compartment for exterior items (chairs, tables, grills. etc.) that can be accessed from either side of the trailer.
What do the plans include?
It’s way more than just plans. It’s an online course detailing every step of the build process. I describe why I chose each feature and what options you might want to choose in customizing your trailer. I discuss build order, what things worked well, what things I would do different, as well as, tool tips and tricks that I used. CAD files, parts lists, suppliers used, detailed cut lists, and links to information I found helpful are all included. You can ask questions and I’ll answer.
I built plans that I wish I could have worked from. If you aren’t satisfied that the plans saved you far more than their cost, I’ll refund your money.
Still not convinced? The first few sections of the course outline are free for you to preview.